Thinking about fitting fixed solar to your 4WD, caravan, camper, or boat? Great move.
A well-planned setup trickle-feeds solar energy into your batteries all day while you drive or relax at camp. No unfolding blankets, no chasing the sun.
This guide keeps things practical for Australian conditions - heat, corrugations, sea air - and shows how to size, place, and care for a system that simply works.
Is fixed the right type of solar for you?
Portable blankets are handy if you park under trees or want to set up in deep shade. Fixed panels suit anyone who has roof space and prefers set-and-forget charging.
Tourers, caravanners, and boaties love the reliability: the panels work whenever there’s daylight. If that sounds like your trips, fixed is usually the calmer option for the long term. It’s a simple type of solar that delivers steady power without daily chores.
Solar PV basics in plain English
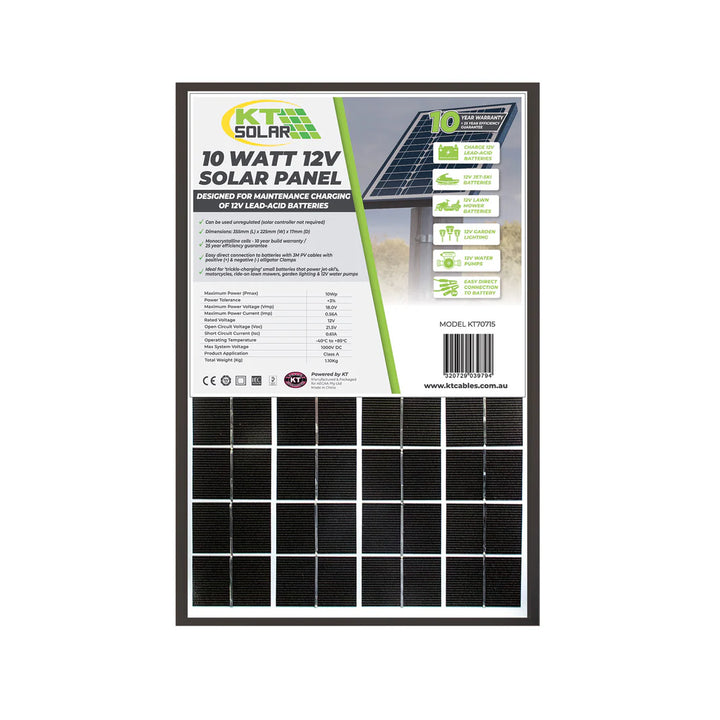
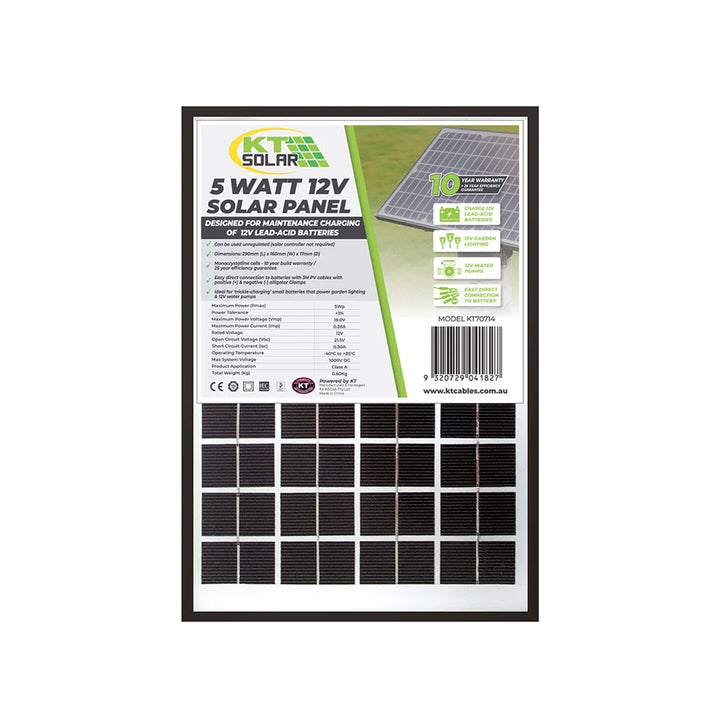
The panels you’ll consider are solar photovoltaic modules. Sunlight hits semiconductor cells and becomes DC power. Many modules are labelled "24 V". That describes the panel's behaviour, not your battery. A 24 V-class panel can charge a 12 V bank through an MPPT regulator, which converts the higher panel voltage efficiently. Think of an MPPT as the smart middleman in your solar pv system.
Pair the regulator with the right battery profile - AGM or LiFePO₄ - so charge voltages are healthy. Done well, you end up with tidy, dependable solar power systems that suit travel.
Quick safety notes:
- Don’t short MC4 plugs "to test it".
- Fuse the positive lead between panels and regulator, and fuse again near the battery.
How big should you go? Understanding system sizes
Skip the guesswork and make a simple energy budget. A mid-size touring fridge might average 35-45 W across the day; LED lights, pumps, and device charging add the rest. Many touring setups land between 600 and 1,200 Wh/day.
A clean, flat 200 W panel might return 700-900 Wh on a good summer day and roughly half to two-thirds of that in winter. Two panels in the 170-220 W range usually keep a fridge, lights, and devices happy - especially if you drive a bit most days. If you expect demand to grow, leave roof room to scale solar later and choose a regulator sized for the upgrade. That way your system sizes can grow with your needs rather than forcing a full redesign.
Roof planning: space beats nameplate watts
Sketch your roof and mark vents, hatches, aerials, and awnings. Fixed panels come in useful footprints - "narrow and long", "short and wide", and the classic 200 W rectangle - so you can often combine shapes to dodge obstacles and still hit your target wattage. Leave a few millimetres under the frame for airflow; cooler panels make more power, which matters in high temperature summers.
Shading is the silent performance killer. If parts of the roof throw stripes in morning or afternoon sun, wire modules in parallel (with proper fusing) so one shaded panel doesn’t kneecap the lot. Use series only when shade is rare and cable runs are long.
Regulators, cable, and connectors
Choose an MPPT with a voltage window that suits your string plan and a charging profile that matches your chemistry. A temp sensor is helpful for AGM banks. Use UV-stable cable sized for acceptable voltage drop, crimp MC4 pins with the correct die, and label both ends so future-you can fault-find without swearing.
Where pop-tops or clamshells move, add a flexible service loop and strain relief. This is the sort of detail a good solar installer handles in a professional solar system installation, but confident DIYers can do it too.
Mounting for Australian conditions
Common methods include riveted or bolted aluminium angle into roof cross-members, adhesive bonding feet that spread load, and rail kits that bridge uneven surfaces. Seal penetrations with a roof-safe marine sealant, not generic silicone.
Keep panels low and centred to reduce lift; on caravans, avoid hanging them right on the edge where crosswinds can get under. After your first highway and corrugated stretch, re-torque every bracket and cable clamp.
If you’re not sure about drilling or sealing, hiring a solar installer for the roof work is money well spent.
Heat, dust, and the coast
Dust dulls output; salt attacks metal. A quick rinse at the servo helps, and a soft brush removes film without scratching glass. Revisit your shade map if you later add an antenna or awning. Small changes can take a noticeable bite out of daily harvest.
Solar and batteries: getting the match right
Fixed panels provide your base supply; alternator charging is your transit boost. A solar and batteries setup using a DC-DC charger with built-in MPPT can simplify wiring and keep lithium within BMS limits.
For AGM banks, a stand-alone MPPT plus a voltage-sensing relay still works well; just check real voltages at the posts to make sure absorption runs long enough. Whether you call it battery storage or a solar battery, the goal is the same: store energy from the roof and spend it on cold food, lights, and quiet nights.
If you’re towing with an electric vehicle, fixed panels won’t meaningfully charge the traction pack, but they do keep the 12 V system happy at camp. That means less idling of a generator and a more relaxed trip - solid clean energy that lines up with broader renewable energy goals.
Safety, compliance, and a simple fault-finding ladder
Fuse the array near entry, fuse the battery side near the bank, and make sure isolation switches are accessible. If output looks poor, test in daylight: panel open-circuit voltage first, then current under load, then regulator output to the battery. Most gremlins are loose crimps, reversed MC4s, or a cable rubbed through on a sharp edge.
Example layouts that just work
- Touring wagon (fridge, lights, devices): 340-420 W total from two fixed panels in parallel, a mid-size MPPT, 100-150 Ah LiFePO₄, and a DC-DC charger handling alternator input.
- Caravan roof: 400-600 W over two or three panels, parallel strings to survive partial shade from the air-con, MPPT with temp sensor (AGM) or lithium profile (LiFePO₄), tidy cable glands into a cupboard.
- Ute canopy (work + weekend): one narrow "side" panel plus one 200 W rectangle, MPPT on the canopy board, Anderson connectors for removable roof sections, and a short service loop for flex.
Costs, value, and the electricity bill
On-vehicle solar won’t replace the grid at home, but it does cut generator time, idling, and powered-site fees. That matters as fuel and electricity price climb. Over the long term, well-mounted fixed panels are low-maintenance battery storage partners that keep fridges cold and devices charged without noise. Many travellers find the comfort and independence worth far more than the dollars saved on the electricity bill.
DIY or hire help?
Plenty of people handle their own wiring. If you’re unsure about cable sizing, fusing, or roof penetrations, a professional solar system installation is worth it - especially on caravans and boats where rules vary. A good installer will route cable with future access in mind, choose compatible system sizes, and document the setup for easy upgrades.
Quick checklist before installing solar panels
- Confirm roof structure and choose the right hardware for installing solar panels - brackets, rails, or bonding feet.
- Plan strings with shade in mind; pick MPPT capacity to match.
- Use UV-rated cable, proper glands, and MC4s; label both ends.
- Fuse array and battery sides; place isolation where you can reach it.
- Test open-circuit voltage and short-circuit current in sun before final tie-downs.
- After the first trip on corrugations, re-check torque and cable protection.
Bottom line: choose fixed panels if you value quiet reliability. Size the array around real daily use, match the regulator to your chemistry, mount with airflow, and wire for shade resilience. Do that and your solar photovoltaic setup will run for years, giving you clean, dependable power wherever you camp.